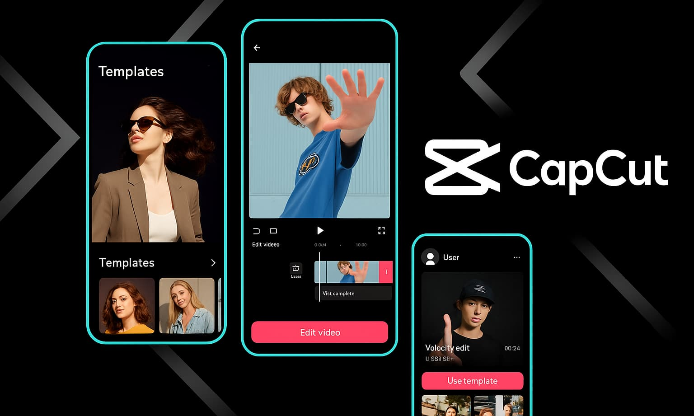
CapCut is a free video editor from ByteDance that runs on phones, desktops, and in the browser. This guide walks through the whole flow once, from blank project to finished export, so the first video you finish looks intentional instead of thrown together.
What You Need Before Starting
- A phone or computer with CapCut installed. The mobile app, the desktop app, and the web editor share the same project format, so you can start on your phone and finish on your computer without re-importing.
- A handful of clips in one place. Anything between thirty seconds and three minutes total works for a first project.
- About an hour the first time. The second project takes roughly twenty minutes.
Step 1: Start a Project and Import Your Clips
Open CapCut and tap or click New Project. Grant the media access prompt and select every clip you plan to use at once. Importing everything up front is faster than adding clips one at a time later, and it keeps the media panel tidy.
Do not worry about order yet. The editing happens on the timeline; the import step is just getting the footage into the project.
Step 2: Cut the Fat First, Then Arrange
Drag each clip onto the timeline in the rough order you want. Tap a clip and use the trim handles to cut the dead space off the start and end of each one. The rule of thumb for a first pass: if nothing happens for two seconds, cut it.
Keep the sequence simple. The most common mistake is adding three edits where one clean cut does the job.
Step 3: Add Captions in One Pass
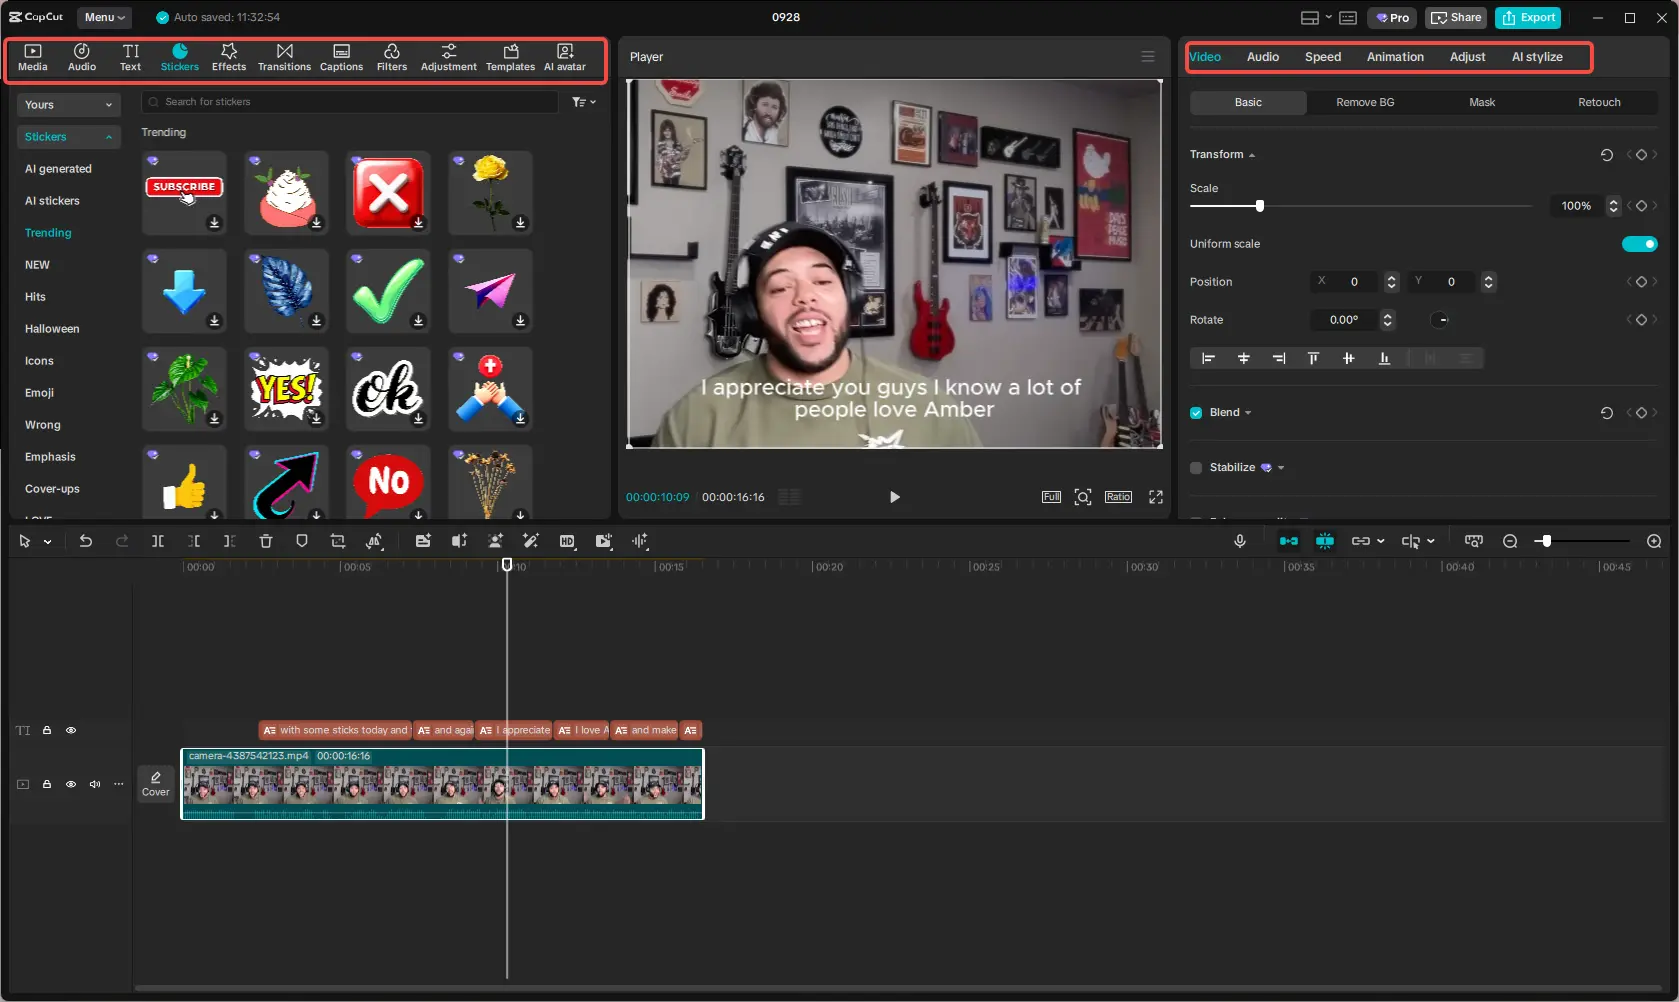
With the clips arranged, open the Text tools and choose Auto Captions. CapCut transcribes the audio and drops captions onto the timeline automatically. Check the transcript before exporting, because the speech recognition still misses names and unusual words, and a wrong name in a caption is the kind of detail people notice.
Pick one caption style and keep it consistent. Bouncing between font styles makes an edit feel busy.
Step 4: Fit the Music to the Edit
Open the audio library and pick a track that matches the mood, or import your own file if you have one. Drag it onto the audio track and set the volume so the music sits under the voice, roughly a quarter of full volume is a safe starting point.
Add a fade in and fade out at the ends of the music. A track that starts and stops abruptly is the fastest way to make an edit feel amateur.
Step 5: Export at 1080p and Check for a Watermark
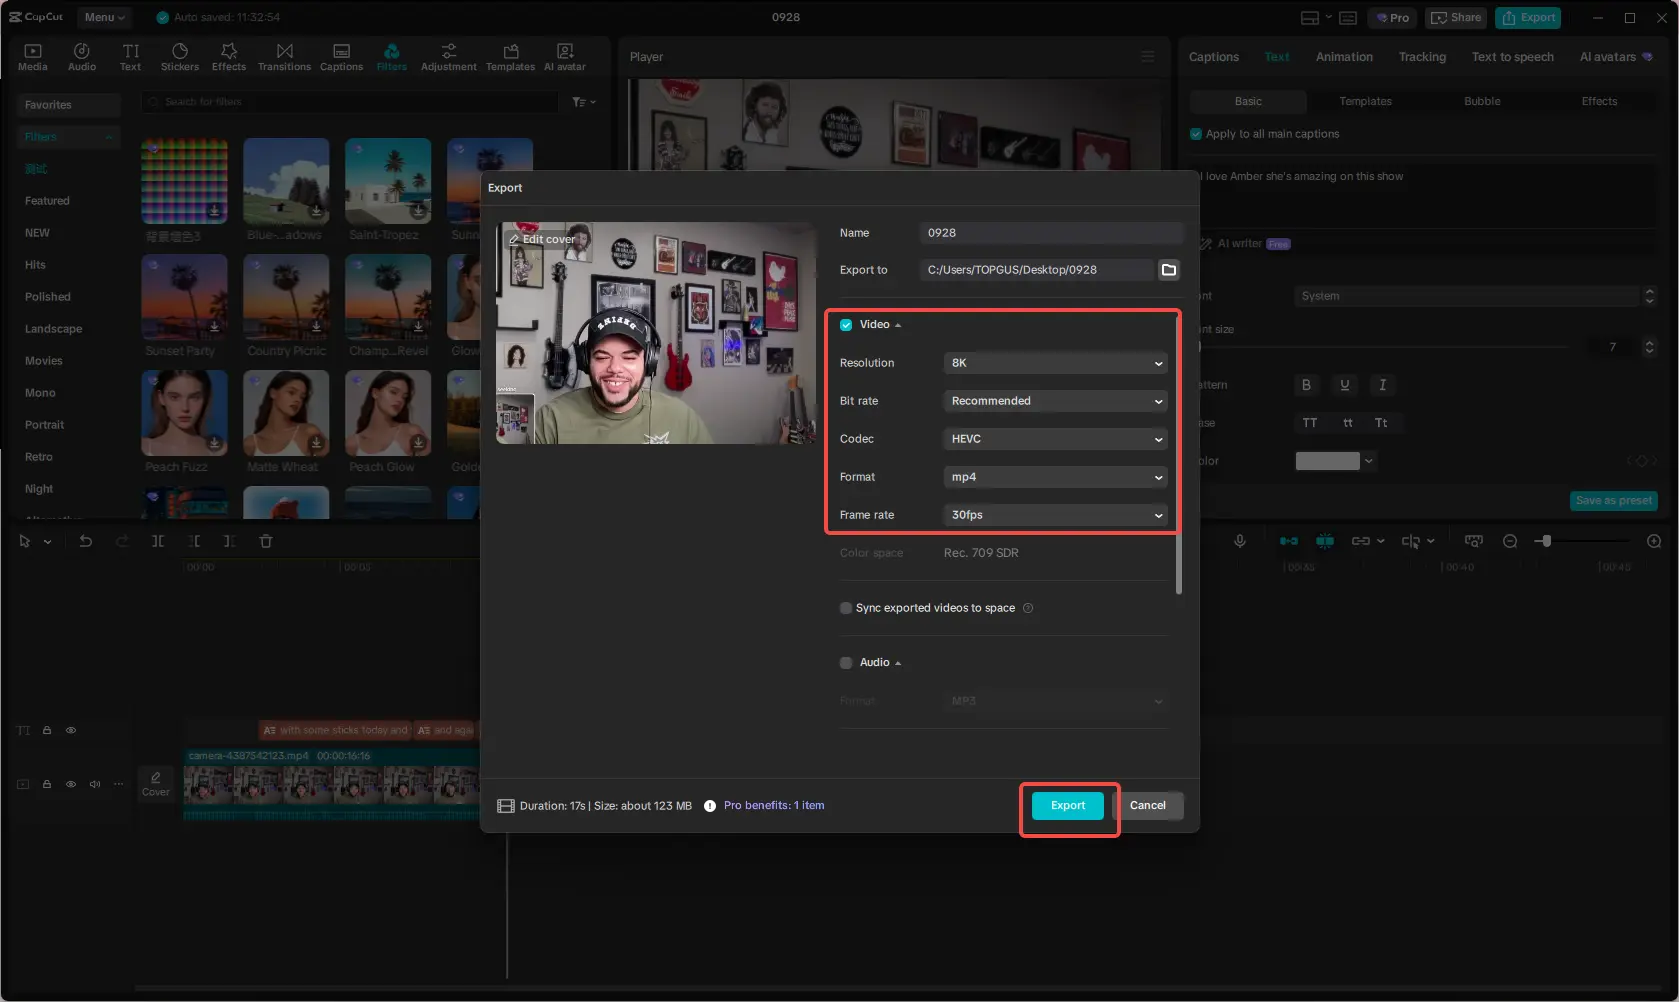
When the edit is final, open the export menu and set resolution to 1080p, which the free tier supports. Standard exports from your own clips and templates generally come out without a watermark. The catch: projects that use Pro-tagged templates or certain AI-generated clips can add a CapCut mark on export, and that behavior has changed across versions. Check the export preview before you commit, and confirm the current rules on the official pricing page if the watermark matters to you.
The Mistakes I Made So You Do Not Have To
- Loud background music shoved under the voice. Set the music at a quarter volume or lower, then re-check the mix on a phone speaker.
- A transition between every single clip. Most cuts should be hard cuts; keep transitions for moments that genuinely need them.
- Skipping the auto-caption review. The captions are generated, not perfect, and fixing two wrong words takes less than a minute.
Settings Worth Knowing
- Auto-save is on by default, but save a named copy of the project before big changes so you can step back.
- The preview resolution can be lowered while editing. A lower preview runs smoother on older phones, and the export quality stays unaffected.
- Keyboard shortcuts on desktop: press space to play or pause the timeline, and use the bracket keys to fine-tune clip edges.
When Things Go Wrong
Export gets stuck at the same percentage
Close the preview player, lower the preview resolution, and export again. Long projects on low storage are the usual cause.
Project does not show up on the other device
Projects sync through the cloud, and the free tier has limited cloud space. Sign in with the same account on both devices and check that the project uploaded before you close it.
Captions end up in the wrong language
Set the caption language in the auto-caption menu before generating, not after. Re-running the transcription with the right language selected fixes it.
Questions People Ask Mid-Tutorial
Is CapCut free?
Yes. The free tier covers the full manual editing workflow, multi-track timeline, keyframes, chroma key, and 1080p exports. Paid plans (Standard and Pro, around $9.99 and $19.99 per month as of this writing, subject to change and regional pricing) unlock 4K, the full AI toolkit, and watermark-free use of premium assets.
Will my export have a watermark?
Usually no for standard exports using your own clips and free templates. A watermark can appear when a project uses Pro-tagged templates or certain AI-generated clips, and the exact behavior has shifted between versions, so check the export preview before you finalize.
Can I use CapCut videos on YouTube or for client work?
The free tier includes a limited commercial license for your own monetized content, with restrictions on premium template assets. Client work and business use have changed terms over time; review the current terms of service on the official site before uploading client footage.
Does CapCut work on both phone and computer?
Yes. The mobile, desktop, and web versions share the same project format, so a project started on a phone can be finished on a computer after it syncs through the cloud.
Do I need to pay to export in 4K?
Yes, 4K export is part of the Pro tier. The free tier exports up to 1080p, which covers most social platforms.
What to Do Next
Finish one short project end to end, even if it is thirty seconds. Export it, watch it once on your phone, and make the second one. The fastest way to get better at CapCut is to complete edits, not to watch more tutorials.
Safety Note and Disclaimer
Our website is a third-party distribution and information site, not the official app store or the app developer.
Download only from a source you trust and verify the source.
Review the permissions the app requests and decline anything that looks excessive.
Keep your device's security settings and antivirus up to date.
Prefer official stores (Google Play) when the app is available there.
This article is an independent overview and is not affiliated with the app's developer.